

Installation Guide for Noise Reduction Check Valve: Detailed Steps
Время выпуска:
Aug 02,2025
The key to successfully installing a silencing check valve is to strictly follow the flow direction indication, ensure correct support of the pipeline, perform uniform and symmetrical bolt tightening, and maintain system cleanliness
Installation steps:
preparation:
Read the instruction manual: Carefully read the installation, operation, and maintenance instructions provided by the valve manufacturer to understand the special requirements for specific models (such as allowed installation positions, sealing requirements, etc.).
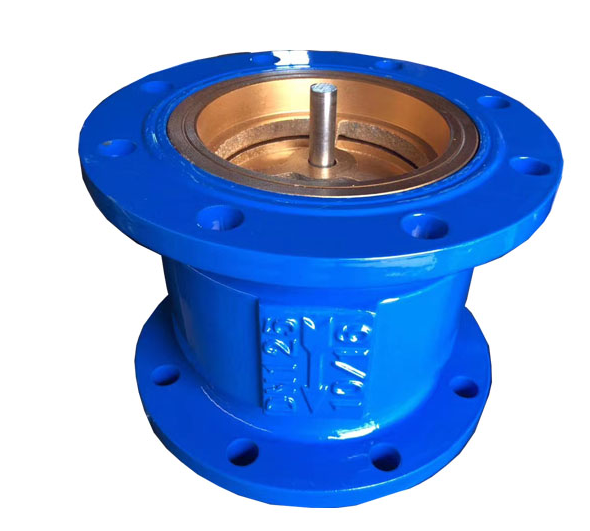
Check the valve: visually inspect the appearance of the valve for any transportation damage. Manually check whether the valve disc (or valve plate) moves flexibly without jamming. Confirm that the flow arrow is clear.
Cleaning the pipeline: Thoroughly clean the inner wall of the pipeline where the valve is about to be installed, removing all impurities such as oil stains, rust, welding slag, etc.
Prepare seals: Choose appropriate gaskets (flange connections) or sealing tape/raw material tape (threaded connections) based on the medium, temperature, and pressure. Ensure that the gasket size is appropriate and undamaged. For clamp valves, ensure that the sealing gasket between the two valve bodies is intact and correctly placed.
Preparation tools: Prepare suitable bolts, nuts, washers (specifications and materials meet requirements), wrenches (recommended to use torque wrenches), lifting equipment (required for large valves), etc.
Determine installation location and direction:
Confirm that the valve installation position meets the system design requirements and can effectively prevent backflow.
Confirm the flow arrow on the valve body again and clearly mark the flow direction of the medium on the pipeline with a marker pen. This is a crucial step in preventing errors.
Recommended installation direction:
Horizontal installation: preferred location. Suitable for the vast majority of types of soundproof check valves (such as clamp type, flange butterfly type, axial flow type, etc.), gravity will not interfere with the valve disc action.
Vertical installation: It is necessary to refer to the instruction manual to confirm whether the model allows vertical installation! If allowed, it is usually required that the medium must flow from bottom to top. For rotary type soundproof check valves, the valve disc shaft should be in a horizontal position when installed vertically. When installed vertically, gravity may affect the return speed and sealing effect of certain types of valve discs.
Avoid inversion: Under no circumstances should the flow arrow be installed facing downwards (unless specifically designed and explicitly stated).
Supporting pipeline:
Install sturdy pipe supports or hangers near the flange at both ends of the valve. The support point should be able to withstand the weight of the pipeline, valve, and medium, and absorb the stress generated by thermal expansion, contraction, or vibration to avoid these stresses directly acting on the valve.
For large-diameter or heavier valves, it is recommended to add additional support below or on both sides of the valve.
Install valve:
Flange connection:
Carefully place the valve between two pipe flanges (or for clamp on valves, between two mating flanges), ensuring that the flow arrow is consistent with the calibrated flow direction of the medium.
Regarding Franco Lancon. You can first insert a few positioning bolts (usually at the top and bottom) and tighten the nuts slightly to secure the valve position.
Insert the selected gasket (ensure it is centered).
Insert all bolts, wear nuts and washers (if used).
Uniform and symmetrical tightening of bolts: This is the key to preventing leaks! The bolts must be tightened gradually in a sequence of intersecting diagonals ("star shaped") multiple times (at least 3 times). Tighten by hand for the first time, evenly pre tighten with a wrench for the second time, and finally tighten with a torque wrench according to the manufacturer's recommended torque value (if any) for the third time. It is strictly prohibited to twist it all at once! Uniform force can ensure that the gasket is uniformly compressed and the flange surface is parallel and in contact.
Горячий Новости

-Контакты Нас
WhatsApp/WeChat:
Электронная почта:
Добавить:
Город Ботоу, провинция Хэбэй, деревня Шуанши Чжао

Здравствуйте. что я могу для Вас сделать?
Мы свяжемся с вами в течение одного рабочего дня. Обратите внимание на свою электронную почту.